The legend of how The Spinning Tetrahedron was born
Posted on Sat 08 November 2014 in fun
Oh no, I didn't write anything for quite a while! That is sad, but the good thing is that I do have something new to write about!
I've made a spinning tetrahedron! *sound of crowd cheering*
So, what's the back story? It's short and simple; there was just this big lack of spinning tetrahedra in the world so I decided that I'll make one instead of relying on other people to make theirs. This, and I had to get the cosmos back into balance!
The final results
Let's start from the end! Here's the video:
And of course there's a gif too, that was the main purpose of the whole
thing in the first place:
The idea
What I first wanted to make was a gif of something spinning, something that isn't a cube, because I already had a cube.
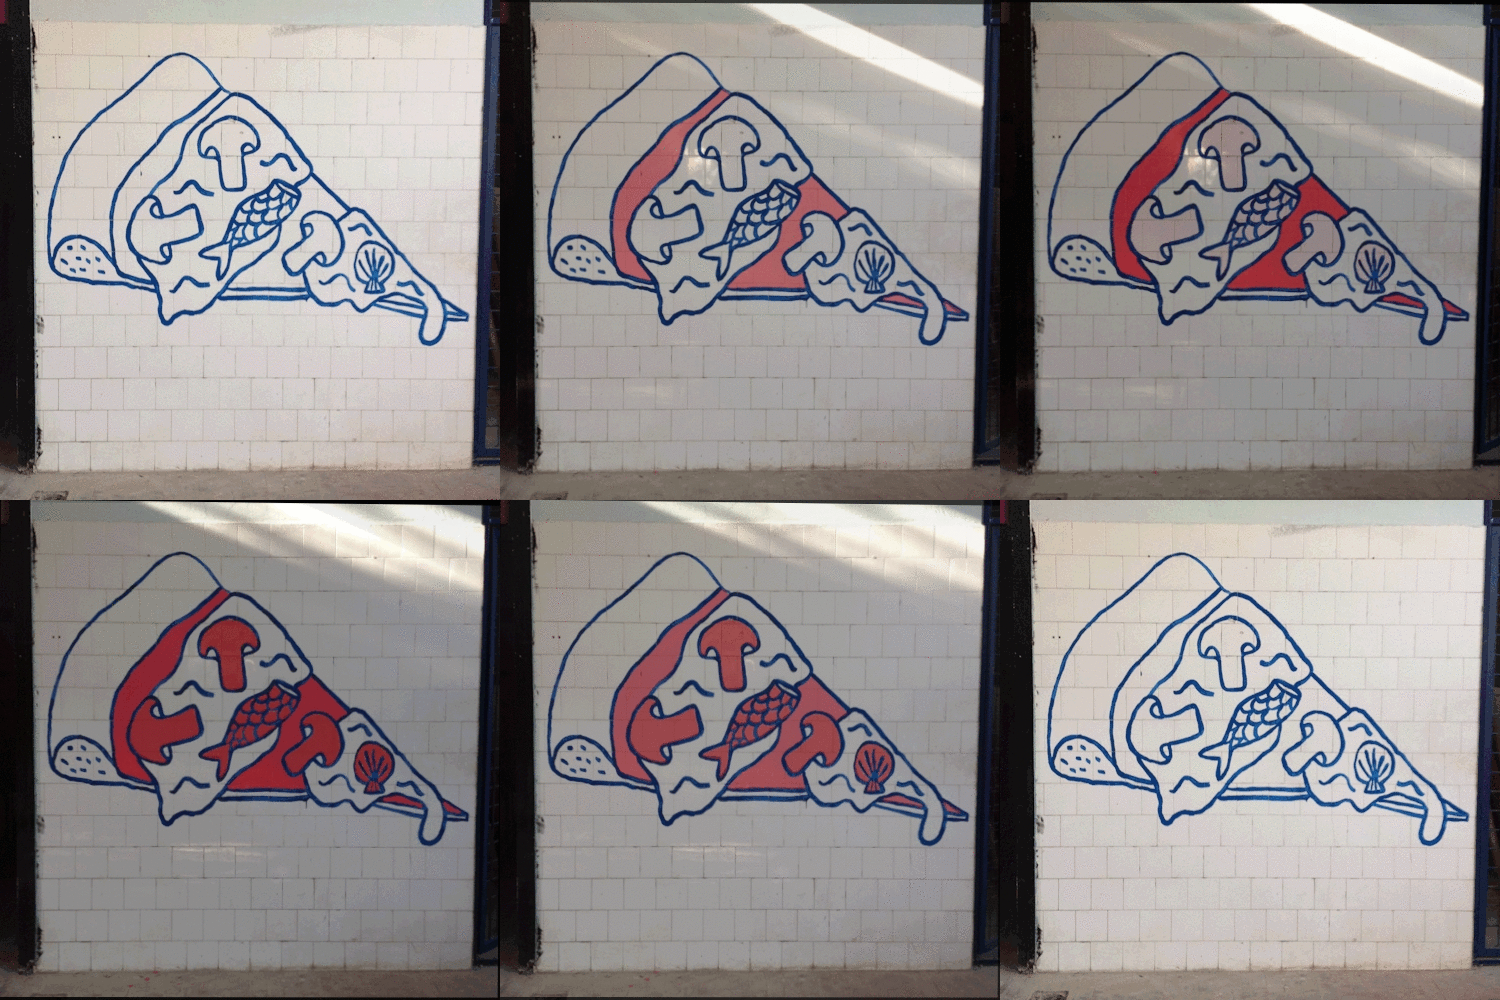
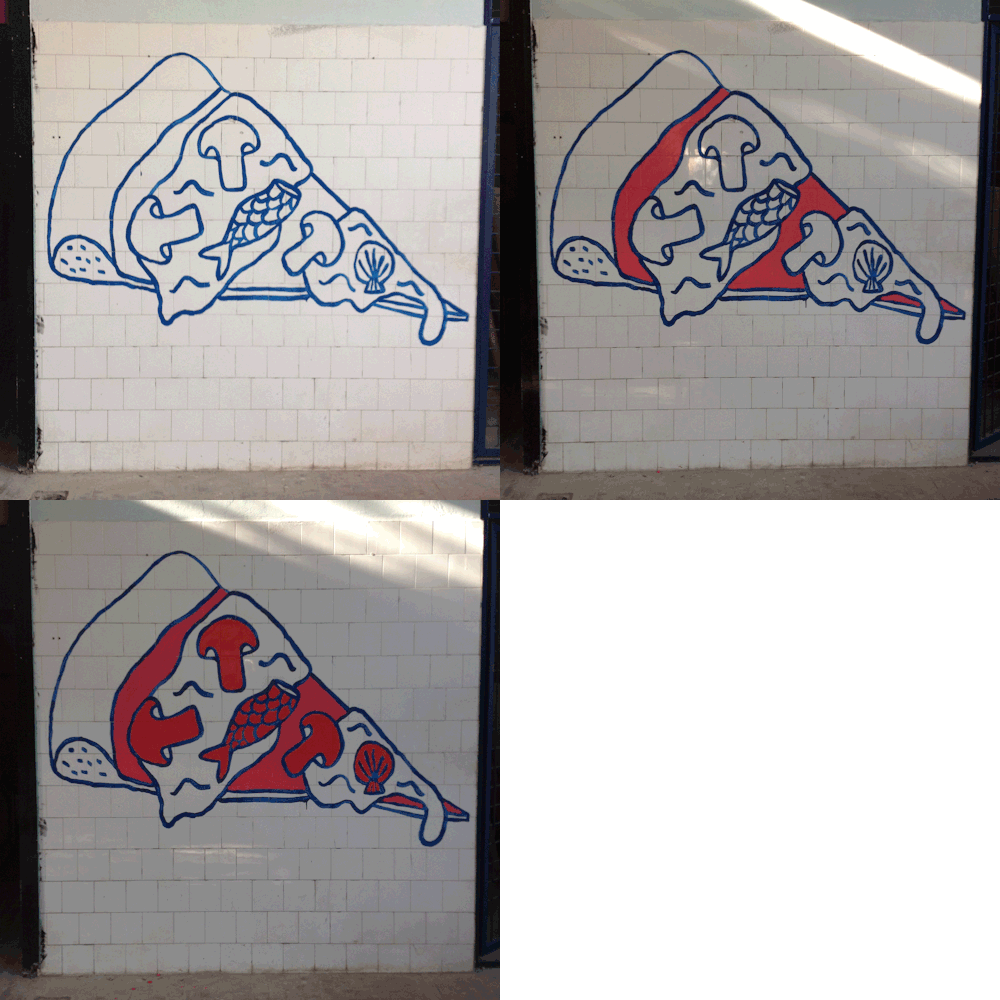
The other thing that I wanted to do is to play a bit with homographies, which I'll also mention in this post. I played with them a few days ago when I ran into Ena Jurov's post of her drawing a pizza graffiti on a wall in Zadar.
It's a cool gif, but I was wondering if I could stabilize it and make the transitions between different stages a bit smoother. This can be done by finding a projection mapping from one image to the other. This projection mapping is defined by a 3 by 3 matrix that we call a homography matrix. We can find it by selecting an number (at least 4) of corresponding points in a pair of images and solving a few equations.
Finding correspondences in the images
We can try to do this in an elegant way or in the way that I did it in the end.
The elegant way is the automatic way, where we detect (for example) SIFT features in both images and see which ones match up to a certain degree. I did try doing that, but I wasn't satisfied with the results I was getting after calculating and applying of the homographies.
After a while of playing with SIFT I've realized that I am stupid because I am only working with three images and there's no point in trying to do this automatically - I can select four points in each image manually and that's it, we're done. So then I wrote a script that lets you select points manually, yay!
After getting the points I only needed to map all of the images into a reference one (calculate homography + do the warping). To make the final version of the gif as smooth as it gets, I've used xmorph to generate the transition between the aligned images.
Here's the final result (and the original on the right):
See? It's magic!
Back to the tetahedron!
So the idea was again to make a 3D spinning object and I chose a tetrahedron. When I did the spinning cube I drew each frame on a paper and then took photos of them, one by one. While I was doing that I had to try and keep the cubes aligned so that I could just put them all together and turn it into an animated gif. This time it was different because I decided not to align the frames on purpose!
The individual frames
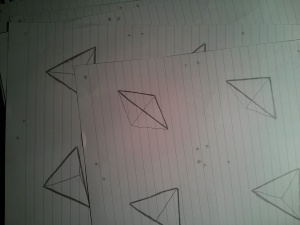
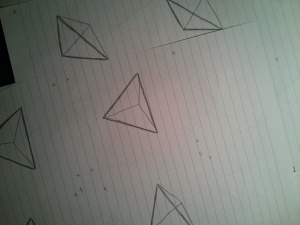
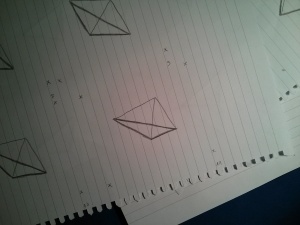
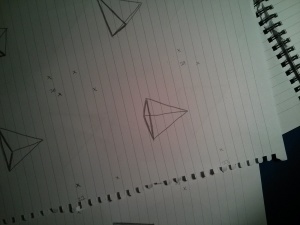
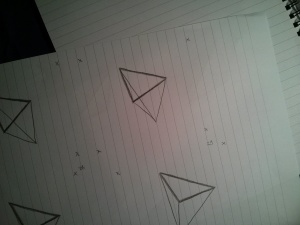
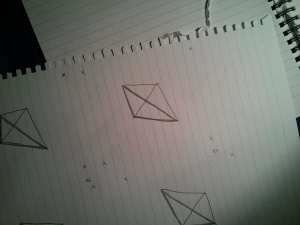
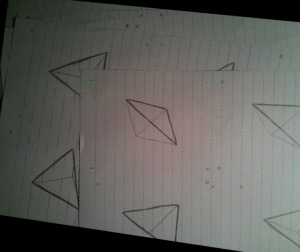
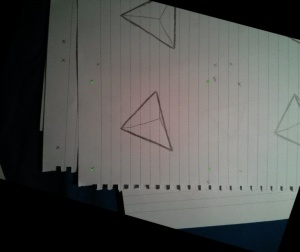
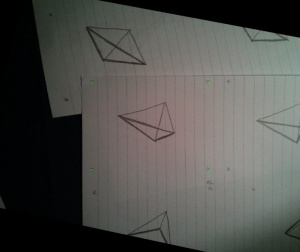
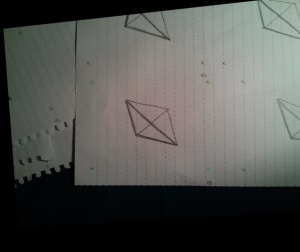
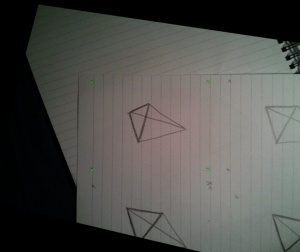
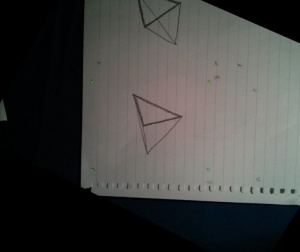
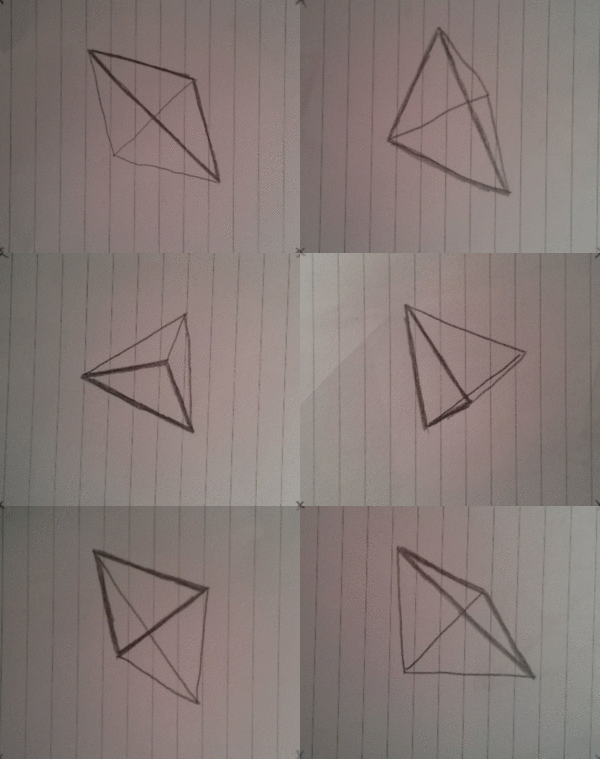
After a bit of magic and trickery I decided to draw 36 frames in total which would contain the full cycle of the tetrahedron spinning. In order to save trees, I drew 4 frames on each side of a paper, lowering the required amount of wasted paper from 36 to 5 pages. Wow, such optimization!
Here's a few of the frames, notice how they are not aligned!
Selecting the correspondences
OK, here I did some boring stuff. I had to select at least four points that are the same in every frame. Wow, that's exactly the four corner points I drew in each frame, how convenient!
After going through all of the frames and a bit of clicking, I had everything that I needed. Now I just had to write a script that will give me a homography matrix for each frame and wrap it in a way that keeps all of my reference points always fixed. Python and OpenCV to the rescue!
Comparing the original frames with the wraped ones
Here are some of the original frames with the corners marked and their warped versions on the right.
Yay, it's done!
Almost! First time when I ran my code I cropped the frames to only display the stuff surrounded by the four corner points (as in the gif shown at the beginning). I was happy with the alignment and the animation looked cool. BUT! Then I realized that by changing the location of the reference corner points (the corners I was mapping into) while keeping the dimensions of the final image constant I could get this really cool (at least in my opinion) effect of zooming in and out. At this point I decided that exactly this was the goal of the project, so I wrote a zoom in/out script, saved each generated frame into an image, turned the sequence into a video, uploaded it to YouTube and declared the world saved! Yay!!
The code
Here's the code that calculates the homographies, warps the images,
does the zooming stuff and saves each frame into a file. It is assumed
that the coordinates of the points are stored in points.txt in a
format like:
IMG_20141104_005726.jpg [[186, 169], [405, 141], [431, 325], [210, 359]]
IMG_20141104_005805.jpg [[201, 165], [422, 125], [452, 311], [235, 351]]
[image_name] [coordinates] ...
Notice that this was written at 3AM, so it's not exactly the perfect example of how to write nice code. :P
import json
import cv2
import numpy as np

points_file = open("points.txt", "r")

paths = []

lines = points_file.readlines()
points_file.close()

x = 0
y = 0

zoom_after = 125

step = 1

w = 380
h = 320

grow = True

start = False

iteration = 0

while (True):
    for i in xrange(0, len(lines), 2):
        iteration += 1

        if (iteration > zoom_after):
            start = True

        dest_points = [[x, y],[w + x, y],[w + x, h + y],[x,h + y]]
        dst = np.array(dest_points, dtype = "float32")

        points = json.loads(lines[i + 1])

        image = cv2.imread('images/' + lines[i].strip())

        src = np.array(points, dtype = "float32")

        M = cv2.findHomography(src, dst)

        warp = cv2.warpPerspective(image, M[0], (w + 2 * x, h + 2 * y))

        fixed = cv2.resize(warp, (w * 2, h * 2))

        cv2.imshow('fixed_size', fixed)
        cv2.waitKey(1)

        if (start and grow):
            x += step
            y += step
        elif (start):
            x -= step
            y -= step

        if (x > 500):
            grow = False
        elif (x <= 0):
            x = 0
            y = 0

        name = str(iteration).zfill(5)

        cv2.imwrite('saved/' + name + '.png', fixed)
Turning it into a video
I just used ffmpeg to turn the *.png sequence into a .mp4 video. This was done by doing something like:
ffmpeg -r 10 -i %5d.png -vb 40M video.mp4
The end
That's it! Thanks for scrolling through! :)
The legend says the tetrahedron will keep spinning for ever and ever and ever!
